Anemones
Anemones! It's such a fun word to say and quite the tongue twister for some. When in doubt, I always tell people to think of where Nemo lives. They are very different types of anemones but pronounced the same. Fun side note: I’m obsessed with the anemone flowers and ocean critters alike!
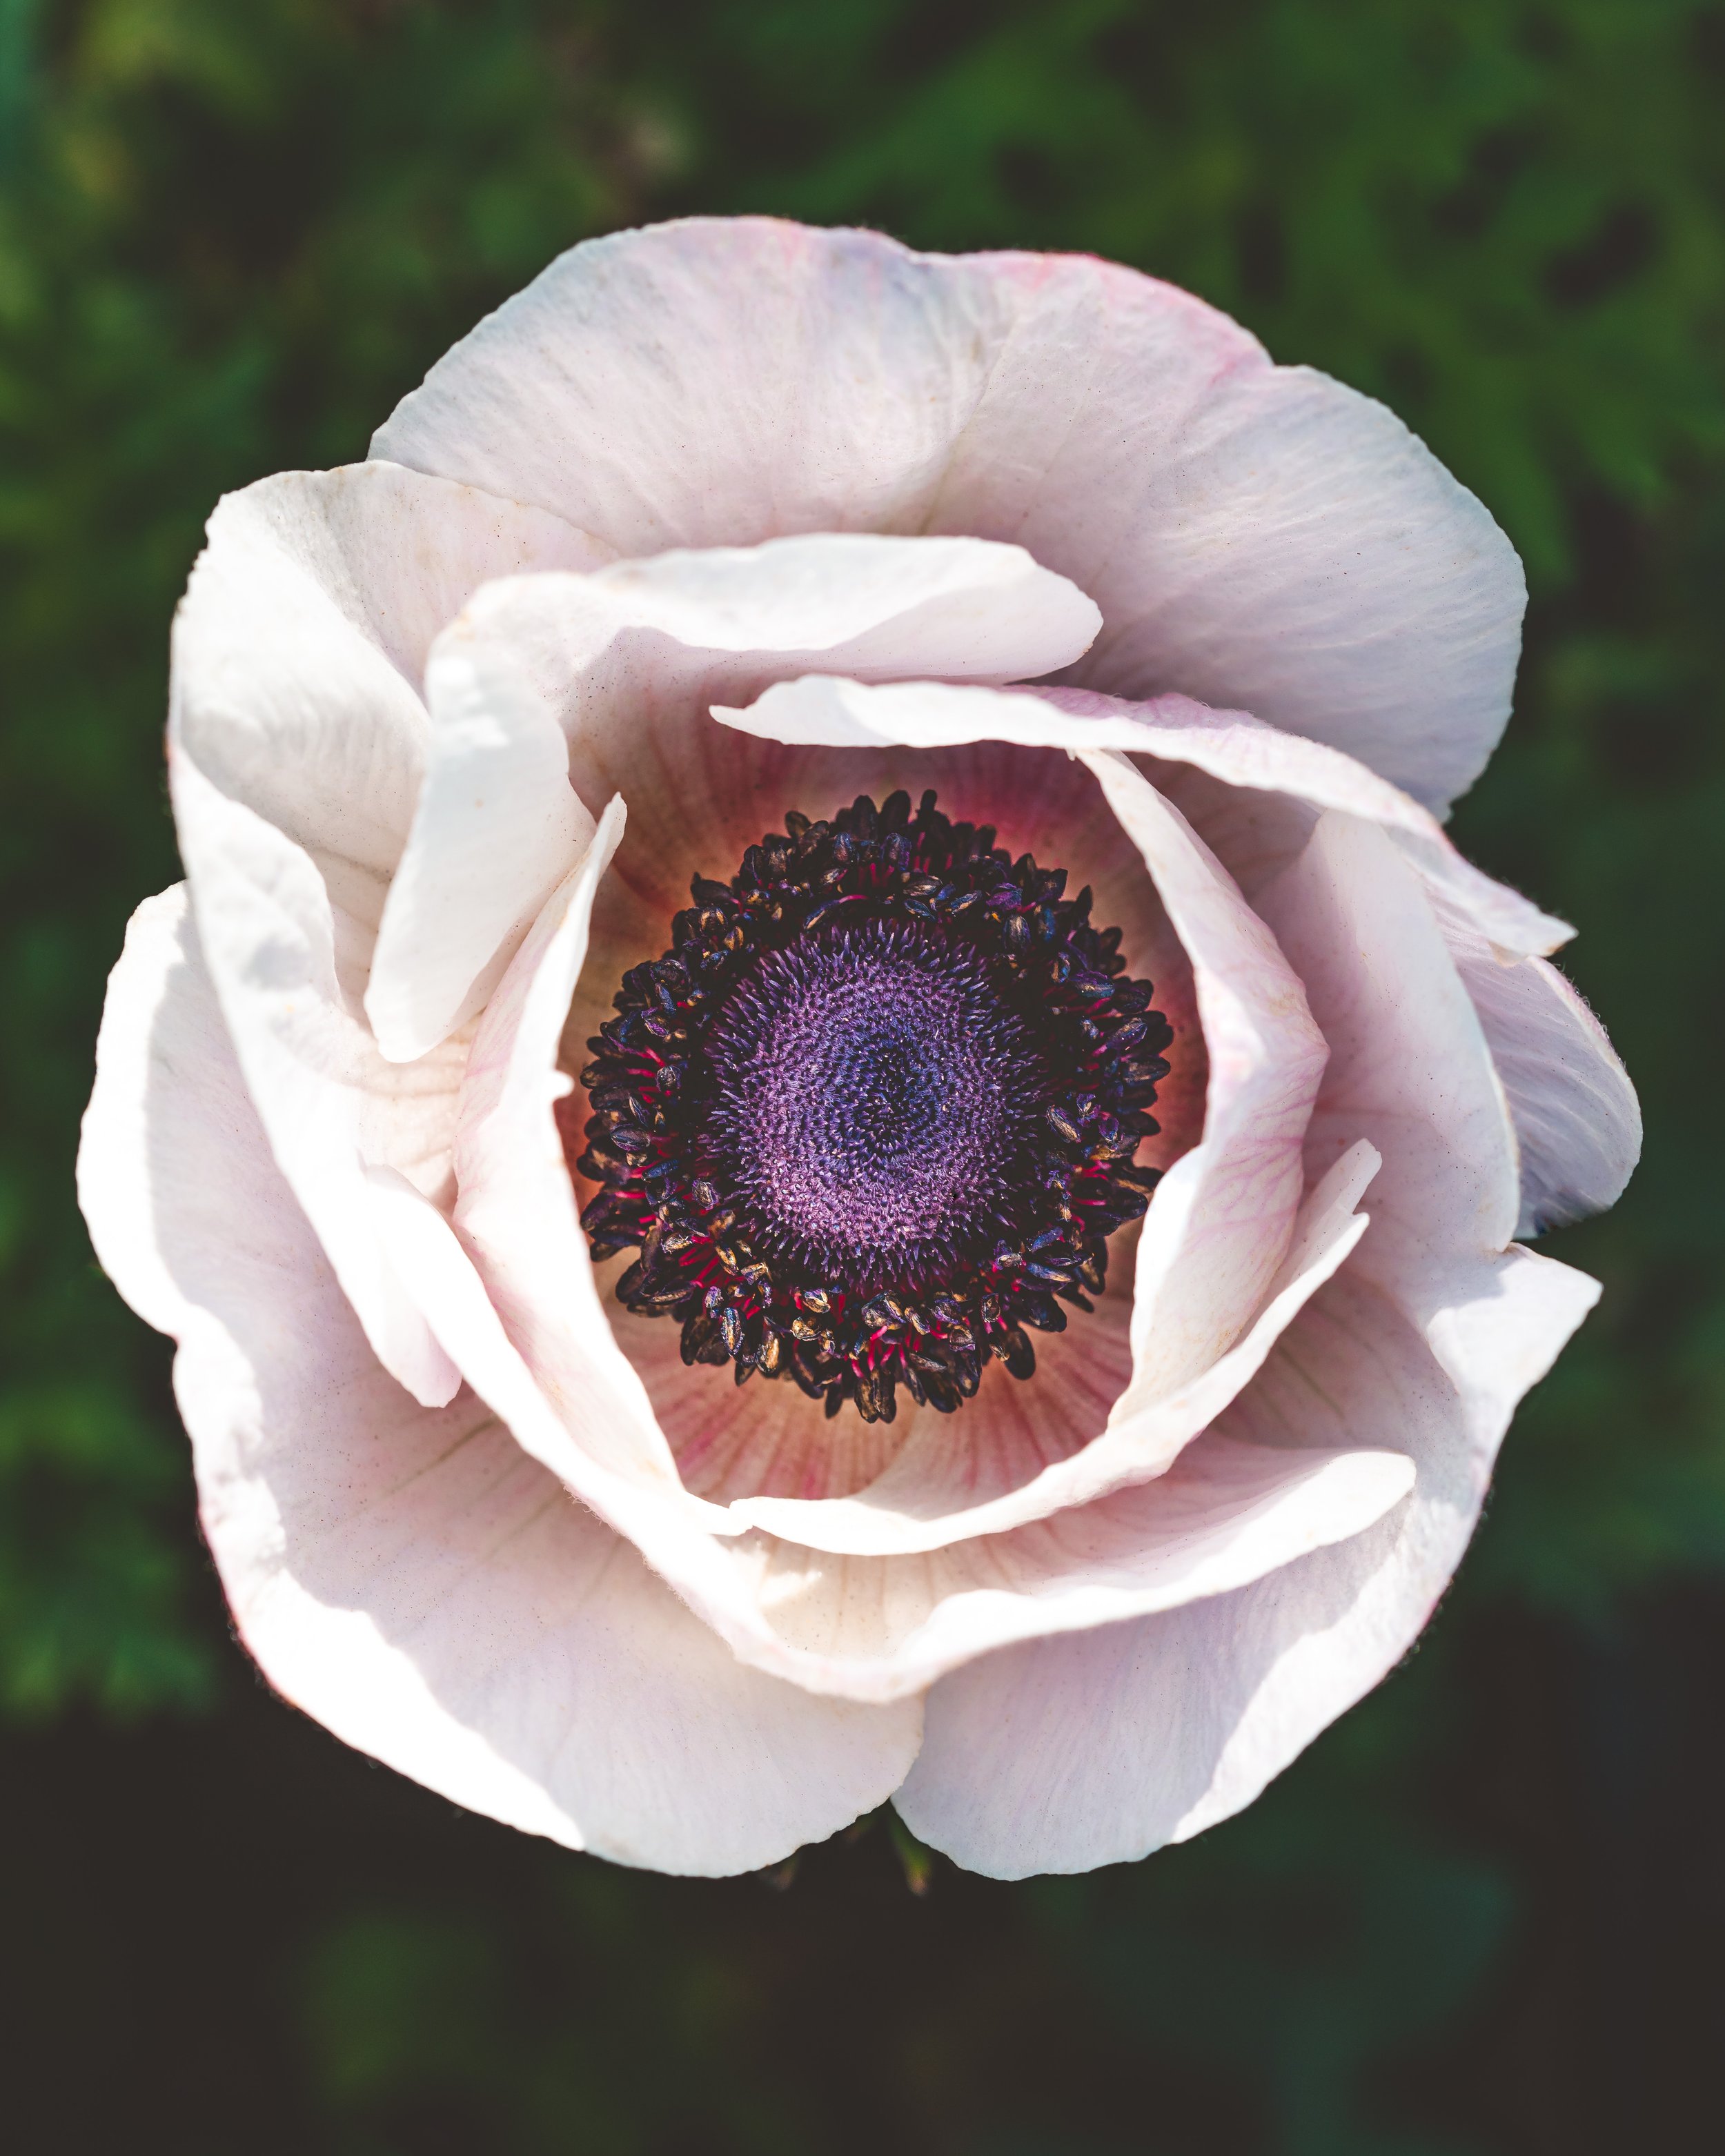
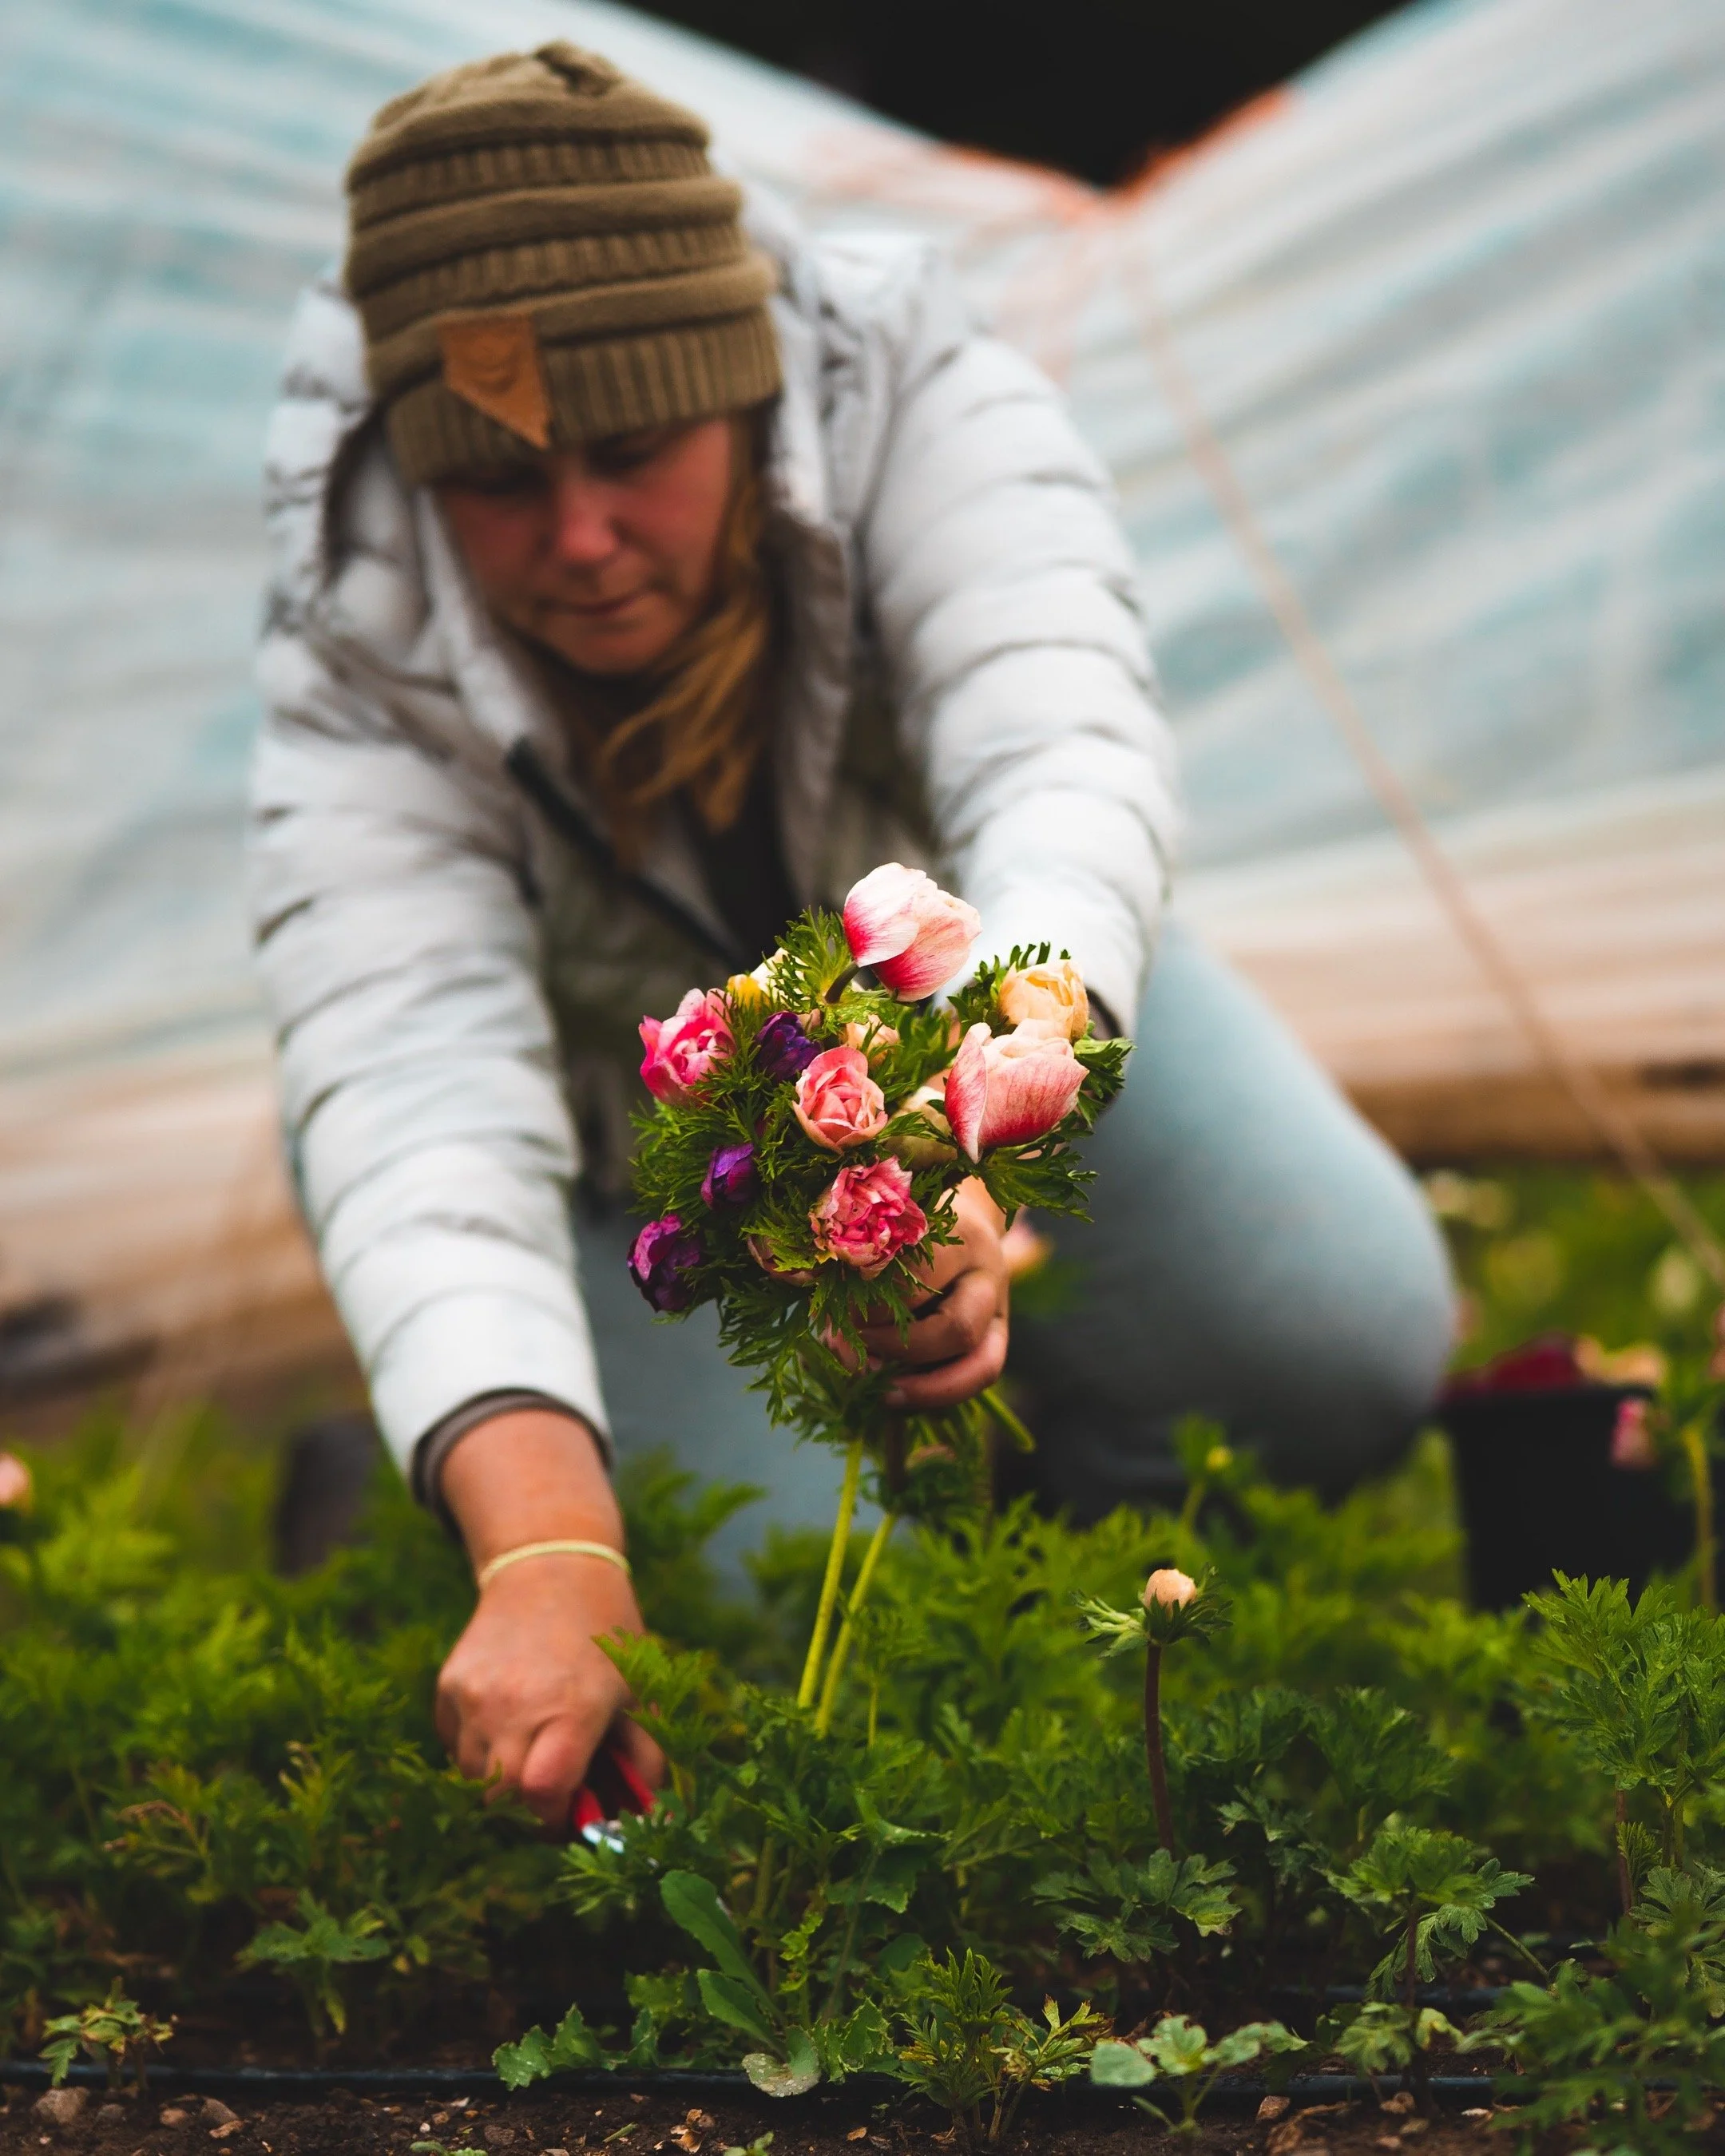
There are different varieties of anemones, but the ones we grow as annuals for cut flower production are the anemone coronaria. Their big flower heads and prominent center, which have a habit of looking like they are staring through you, make incredible cut flowers. Seriously, I don’t know what I would do without anemones in spring to early summer.
Today, I am showing my love to these amazing beauties. If you’ve been on the fence about growing them, you will not only want to grow them but will have all the information you need to do so successfully!
We have found anemones, out of most of our spring annuals, to handle our harsh high desert climate the best. They take our extreme temperature fluctuations of going from winter to summer during any given day, like champs. There are some tricks to growing and harvesting anemones, which we will share with you right now!

where, what, and why of purchasing anemone corms
What are Anemone Corms?
Anemones are commonly grown from corms for a few good reasons, but first, you may ask yourself, what are corms?
They are basically the anemone’s tuber.
Anemones grown from corms will give you the gorgeous color, forms, and characteristics of all the ones you see splattered on social media. They will also have the same traits as the mother plant.
Growing Anemones from Seed
Anemone coronaria can be grown from seed with a bit of patience. There are some downsides, such as it may take longer for the seeds to germinate and for the plants to produce, and may result in somewhat spotty success. You also are not guaranteed the color that will be made.
This is similar to growing dahlias from tuber versus seed: the result will be a surprise. On the other hand, if you are up for an experiment and are not too concerned about the results, it could be fun!
Grow from corms to ensure the end result and reduce the steps between propagation and harvest.
When and Where to Purchase Anemone Corms
Purchasing corms is the first step to a successful anemone harvest. As a flower farming business, you will want to buy corms a good year out, if not longer, before harvesting from the plants. Here in the U.S., that’s winter-spring.
Anemone corms can be found through retail sellers or wholesalers. If you are growing commercially, I recommend sourcing from your preferred wholesaler to get a higher quality corm at a better price. Most wholesalers sell in 100 increments and may have a minimum purchase amount.
Only after fall is recommended since wholesalers often seem to be selling out of the more coveted varieties and sizes of corms earlier and earlier each season. However, most small retailers open orders for Anemone corms in the fall. They are commonly sold in increments of 25 corms.
What Size Anemone Corms Should I Purchase?
Anemone corms are typically available in different sizes: 2/3, 3/4, 4/4, and 4/5 are the more common sizes.
The size is measured in centimeters. I was really confused about the size options when first ordering these guys. The smaller sizes are less expensive, but there’s also a catch.
This next part is where you may find yourself abandoning attempting to start anemones from seed altogether and investing in the larger corms:, the larger the corm, the more of a robust plant is produced. If you are in a temperate climate, this may not be worth the extra money towards the larger corms for your situation, but we have found it to be valuable in our situation. Once we invested in the larger corm sizes from a reputable seller, it was a radical result for the better!
We don’t order anything below a 3/4 in size and often go for the larger sizes. Our plant health has dramatically improved, and I credit the anemone's handling of our crazy climate to being more sturdy from the start, which, in my book, is worth the extra money.
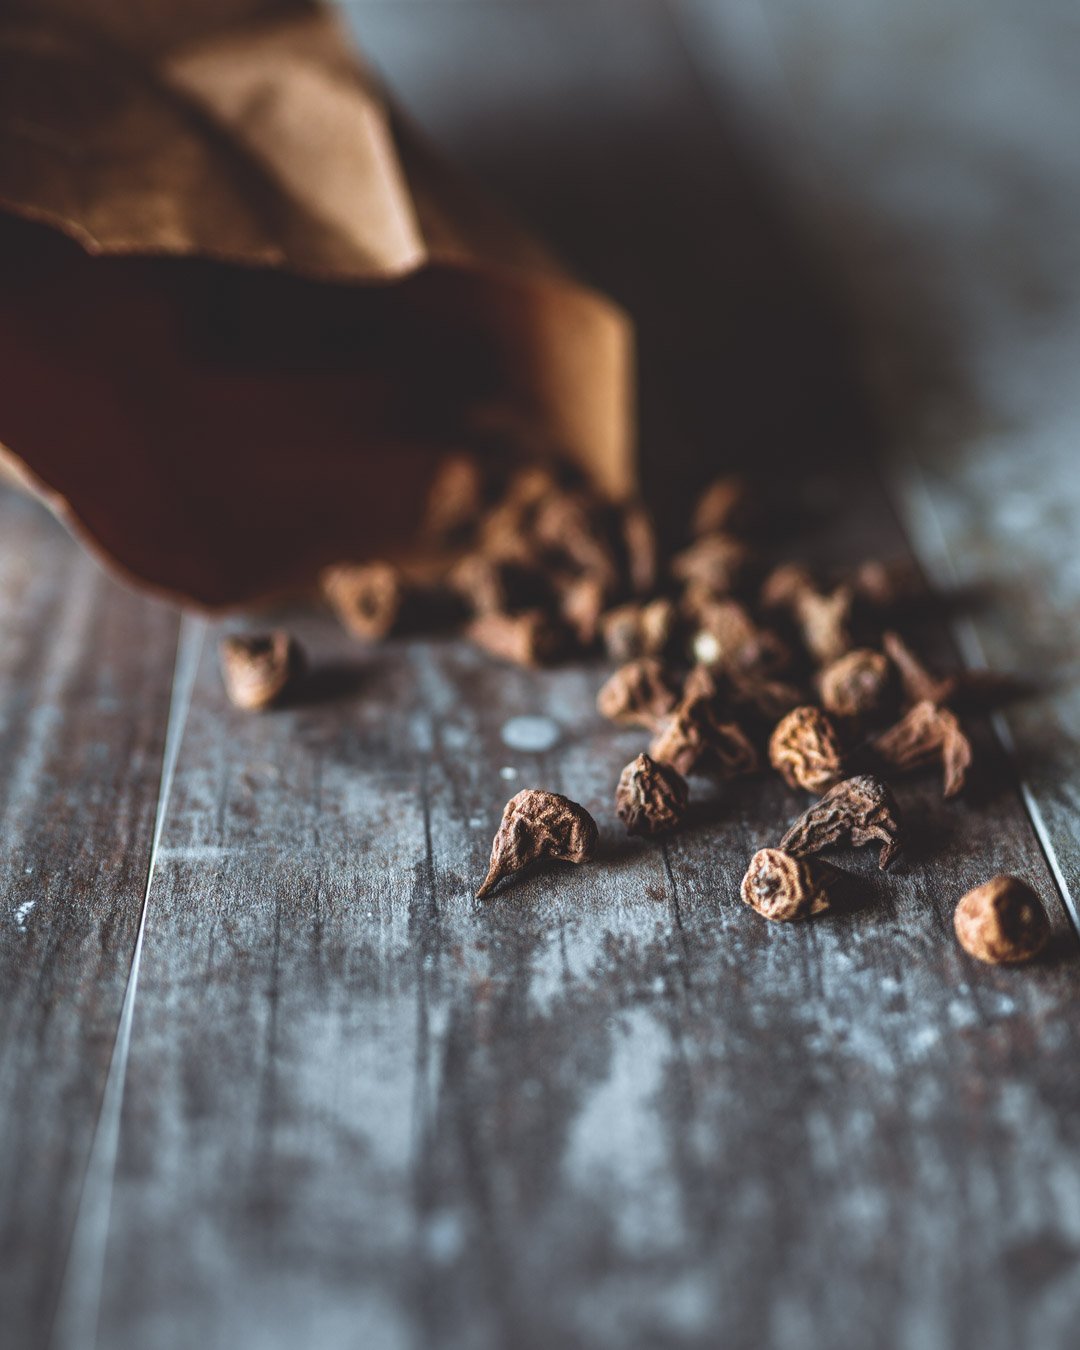
The Anemone Corms Arrive Looking Weird…
The corms are going to come to you looking like shriveled acorns. This is because they are sent to you dehydrated, which keeps them dormant until you decide it’s time to break that dormancy. You wake up corms by soaking them in water for three to four hours. After soaking the corms, you have one of two choices from there. You can plant the anemones directly into the prepared growing beds or take one additional step by pre-sprouting the corms under ideal conditions in the substrate. This is beneficial to give your anemones a head start in colder climates and provide that gentle vernalization they need in more moderate climates.
Which Varieties of Anemones Should I Choose?
That is up to you!
Anemones come in a range of colors: red, pink, magenta, icy blues, white, burgundy, and deep purple. They are available in singles or doubles with light-colored centers or dark centers. You can choose a color that works best for your clientele. I will say that the white with black centers are the majority we grow since it is a top request from our spring brides.
You will want to consider what events/holidays you are selling the anemones during to help you navigate the choices better. For example, Mother’s Day is fairly common for fall-planted anemones. For us, we aim for after Mother’s Day, when wedding season kicks into gear.

When to Plant Out Anemone Plants
Once you wake up the anemones by plumping them up, you should see the first stems for harvest in about ninety days. Fall-planted anemones may take a touch longer since, in the dead of winter, the anemones will focus on slow root growth in colder climates rather than active growth, but be assured that once the weather warms, then in the act, they will take off like crazy!
Anemones are relatively cold hardy, at least in our experience for our climate in zone 6b. Our growing zone puts us on the cusp of being able to winter over anemones more safely since they technically are hardy down to zone 7.
A bit more about our growing area for context: we are in the arid high desert in Nevada. We live in a valley about twenty minutes down from Lake Tahoe. On any given day in spring and summer, we can see temperature swings of thirty to fifty degrees Fahrenheit. That’s tough on plants, especially many of our spring ones. We also have insane winds. These are the conditions under which we are growing our anemones, far from their ideal preferred conditions of the Mediterranean’s fair weather.
If you are in zone 7 or over, definitely fall plant. However, if you’re in a cooler climate, don’t let that stop you from overwintering anemones, especially if you have access to the next part.
Infrastructure Benefits Anemone
Infrastructure is critical, as with most plants, especially when pushing the boundaries of the shoulder seasons in harsher climates. Micro tunnels, double low tunnels, and high tunnels will all help alleviate some of the harshness that often comes in the winter and spring months in many climates. Your growing zone and infrastructure will determine whether or not a fall planting is in your best interest. As mentioned, they are considered cold hardy down to growing zone 7, but that is only part of the battle, which we will get into in a moment. But hint: infrastructure is your friend. Your frost dates will help you determine when to wake up your corms, whether to pre-sprout and when to plant anemones. Anemones are not fans of consistently warm temperatures over eighty degrees Fahrenheit. If you are in a climate that warms up fast, consider investing in some shade cloth to help these guys out. Most of us are primarily concerned with the volatile conditions of winter: rain, snow, wind, and freezing temps. Anemones do not like having cold, soggy feet (who does?). Giving them additional protection with tunnels will help keep them happy and growing instead of rotting and dying.
Succession Planting Anemones
Anemones can be succession-grown; if your climate allows for it, I recommend doing just that. Anemones stay in peak production for about four weeks before shooting wonky, smaller heads of flowers and getting tired. A fall planting is followed by winter to early spring plantings in about four-week intervals. How many successions and when will once again depend on your climate and set-up.

Planting Anemones
The time has come! With either soaked or pre-sprouted anemones in hand, it is planting time!
Prepping the Growing Bed for Anemones
First, you want to have your beds all prepped. We do nothing special compared to our other rows, except we ensure that the anemone coy micro tunnel has a minimum for our area and an absolute must for us: drips laid out. Between our arid climate and tucking them under tunnels, we need to be still able to water when needed. Having the drips ready lets us do that without worrying about overhead watering in the cold months.
Anemones can also be grown in crates if you’re looking to save bed space in the field or garden.
Anemone Plant Spacing
Anemones can be planted relatively close at 4”-9” apart. Between our soil being low in nitrogen and organic matter (making progress!) and our intense sun, we have found 7x7” to work for us. If you’re in a more humid or high moisture environment, giving a little more room may help combat potential fungal issues.
If you’re growing in crates, you may want to squeeze them tighter to maximize space.
When planting the corms, like in pre-sprouting, you want to grow them pointy side down about an inch deep.
Some Battles with Anemones
Anemones aren’t without their battles. I know, there’s just no such thing as that elusive unicorn flower that is fuss-free in spring, sigh.
Not only do anemones thrive best in Goldilocks climates, but when I say they don’t like cold, soggy feet, they don’t like cold, soggy feet. Damp and cold conditions can lead to the corms rotting. The problem is, they also don’t love the heat. Consistent days over eighty degrees Fahrenheit will push them to stop producing flowers and instead begin dying back and putting energy back into their corms.
As mentioned, shade cloth can help if you want to extend them out longer.
Anemones are also prone to several fungi and pest pressure. Stem rot has increasingly become a problem with these guys. We have found that thrips and aphids are obsessed with anemones. The thrips, moisture, and wind on the petals will cause browning, which is exceptionally noticeable on the lighter-colored varieties. Thrips are one of our more significant battles with anemones, but earwigs, beetles, slugs/snails, and whiteflies also move in on the anemones. You'll want to take a look at your own integrated pest management system to see how you prefer to combat these foes best. Pyganic, spinosad, neem oil, beneficial nematodes, crop rotation, and proper weed management can all help to combat the buggers. Preventative treatment of fungicides spraying and dipping your corms during the soaking process can help fight fungal issues.
Another reason we started laying the drip tape down when we planted the anemones is splitting stems. Splitting stems can be caused by calcium deficiency but can also be caused by inconsistent watering. The latter caused our splitting stems from needing to have them set up on drips sooner into the season.
Additional Notes on Growing Anemones
I will say it again: we’re fans of having drip tape set up and ready to go. Anemones don’t love overhead water and like having a deep drink rather than small sips. They can also use an extra boost, so regular feedings of your preferred fertilizer are recommended. We have linked our preferred fertilizers for you at the end of this post.
Anemones have the habit of not looking like much is happening, and then boom! Flowers! With proper watering, feeding, and protection, they should happily produce for you.
Harvesting and Post-Harvesting Care of Anemone Flowers
It’s been a lightning-fast and jolly time covering and uncovering these babies, but finally, the first stem- yay! You may notice that the first stem or two of the anemones produced are shorter. That’s okay; nothing is wrong; it’s just their pattern.
For several reasons, anemones are best harvested early in the morning before the buds open up fully. First, the obvious: the buds are closed, which will alleviate accidentally bruising their delicate petals. Second, as with most flowers, they are nicely hydrated and happy from all the carbohydrates provided during the cool night.
Harvesting Stage of Anemone Flowers
Anemones have an odd trait: they need to reach a certain amount of maturity on the plant before harvesting. It’s not as easy as being at a bud stage, but you’ll get the hang of it. Of course, their quirks. If harvested too soon, the flowers and stem will flop and not open. There are several ways to determine when the anemones are ready for harvest. The first way is to allow the anemone flowers to open and close one to three days before harvesting. For me, I’m not tracking the anemone’s sleepy time habits. This is where I use the second way to determine. Anemones are dapper and have a “collar.” The “collar” is a leaf down a bit of stem between the flower head and the main stem. You want this little piece of stem between the flower head and the “collar” to be at least 1/4”. The longer the stem, the more aged the flower. Typically, a stem length of about an inch or over the flower is no longer in its prime for your customers to enjoy a longer vase life but could still be used for event work.
Harvesting Anemone Flowers
The actual harvesting of anemones is pretty simple; you will want to cut the stem down to the ground. We typically bundle anemones in ten stem increments. Watch out for being too aggressive with the rubber band where you cause snapping.
Post-Harvest Care of Anemone Flowers
Anemones aren’t too picky about post-harvesting care. The most significant step is to have a clean bucket with fresh water. We have well water, so we treat all our water for flowers with Chrysal’s CVBN tablet to help combat bacterial growth. With anemones, you don’t want to pluck their stems wholly immersed in water, which will cause the stems to get gross and mushy. Instead, have about two to three inches of water in the bucket and add more water as necessary.
We have found anemones do best when kept in the cooler at thirty-eight to forty degrees Fahrenheit. We hold them in the cooler in water for two to five days. When placing the anemones in the cooler, ensure there isn’t any moisture on the flower heads to keep flower heads from browning. Anemones are also ethylene-sensitive; be aware of that when storing your flowers. If you don’t have a cooler, keep the anemones in a cool, dark room to hydrate for the first twelve to twenty-four hours, then move them.
Vase Life of Anemone Flowers
When treated with commercial flower food, anemones have a great vase life of about five to seven days.

Anemones in Floral Design
Anemones are beautiful and prolific, an absolute treat for your subscription members in a mixed bouquet or stunning in a bridal bouquet. Anemones can be used as a focal flower or as a disk component. I find anemones and ranunculus play so well off each other in design work for our late spring weddings.
Anemones do best when kept in a water source. Not a flower recommended for wearables, though thanks to Pinterest we get tons of requests! Between the messy pollen and delicate nature of their petals, I just say no when requested though others have had success in having anemones in wearables.
Anemones are among the top requested flowers from brides, right behind dahlias and ranunculus! Especially the white ones with the black centers, there really is no flower quite like them.
When using anemones in design work, they can be little stinkers. If the flowers are too cold… they stay shut! If this is a problem for you, take them out of the cooler to warm up a bit before designing with them.

Anemones were among the first flowers we grew and harvested. They require some extra effort upfront but are one of the less fussy spring flowers. Each season, they continue to win us over and gain more space in the garden beds.
Hopefully, you will also make some room for these precious beauties.
Until next time, we are looking forward to helping you hand blooms soon!
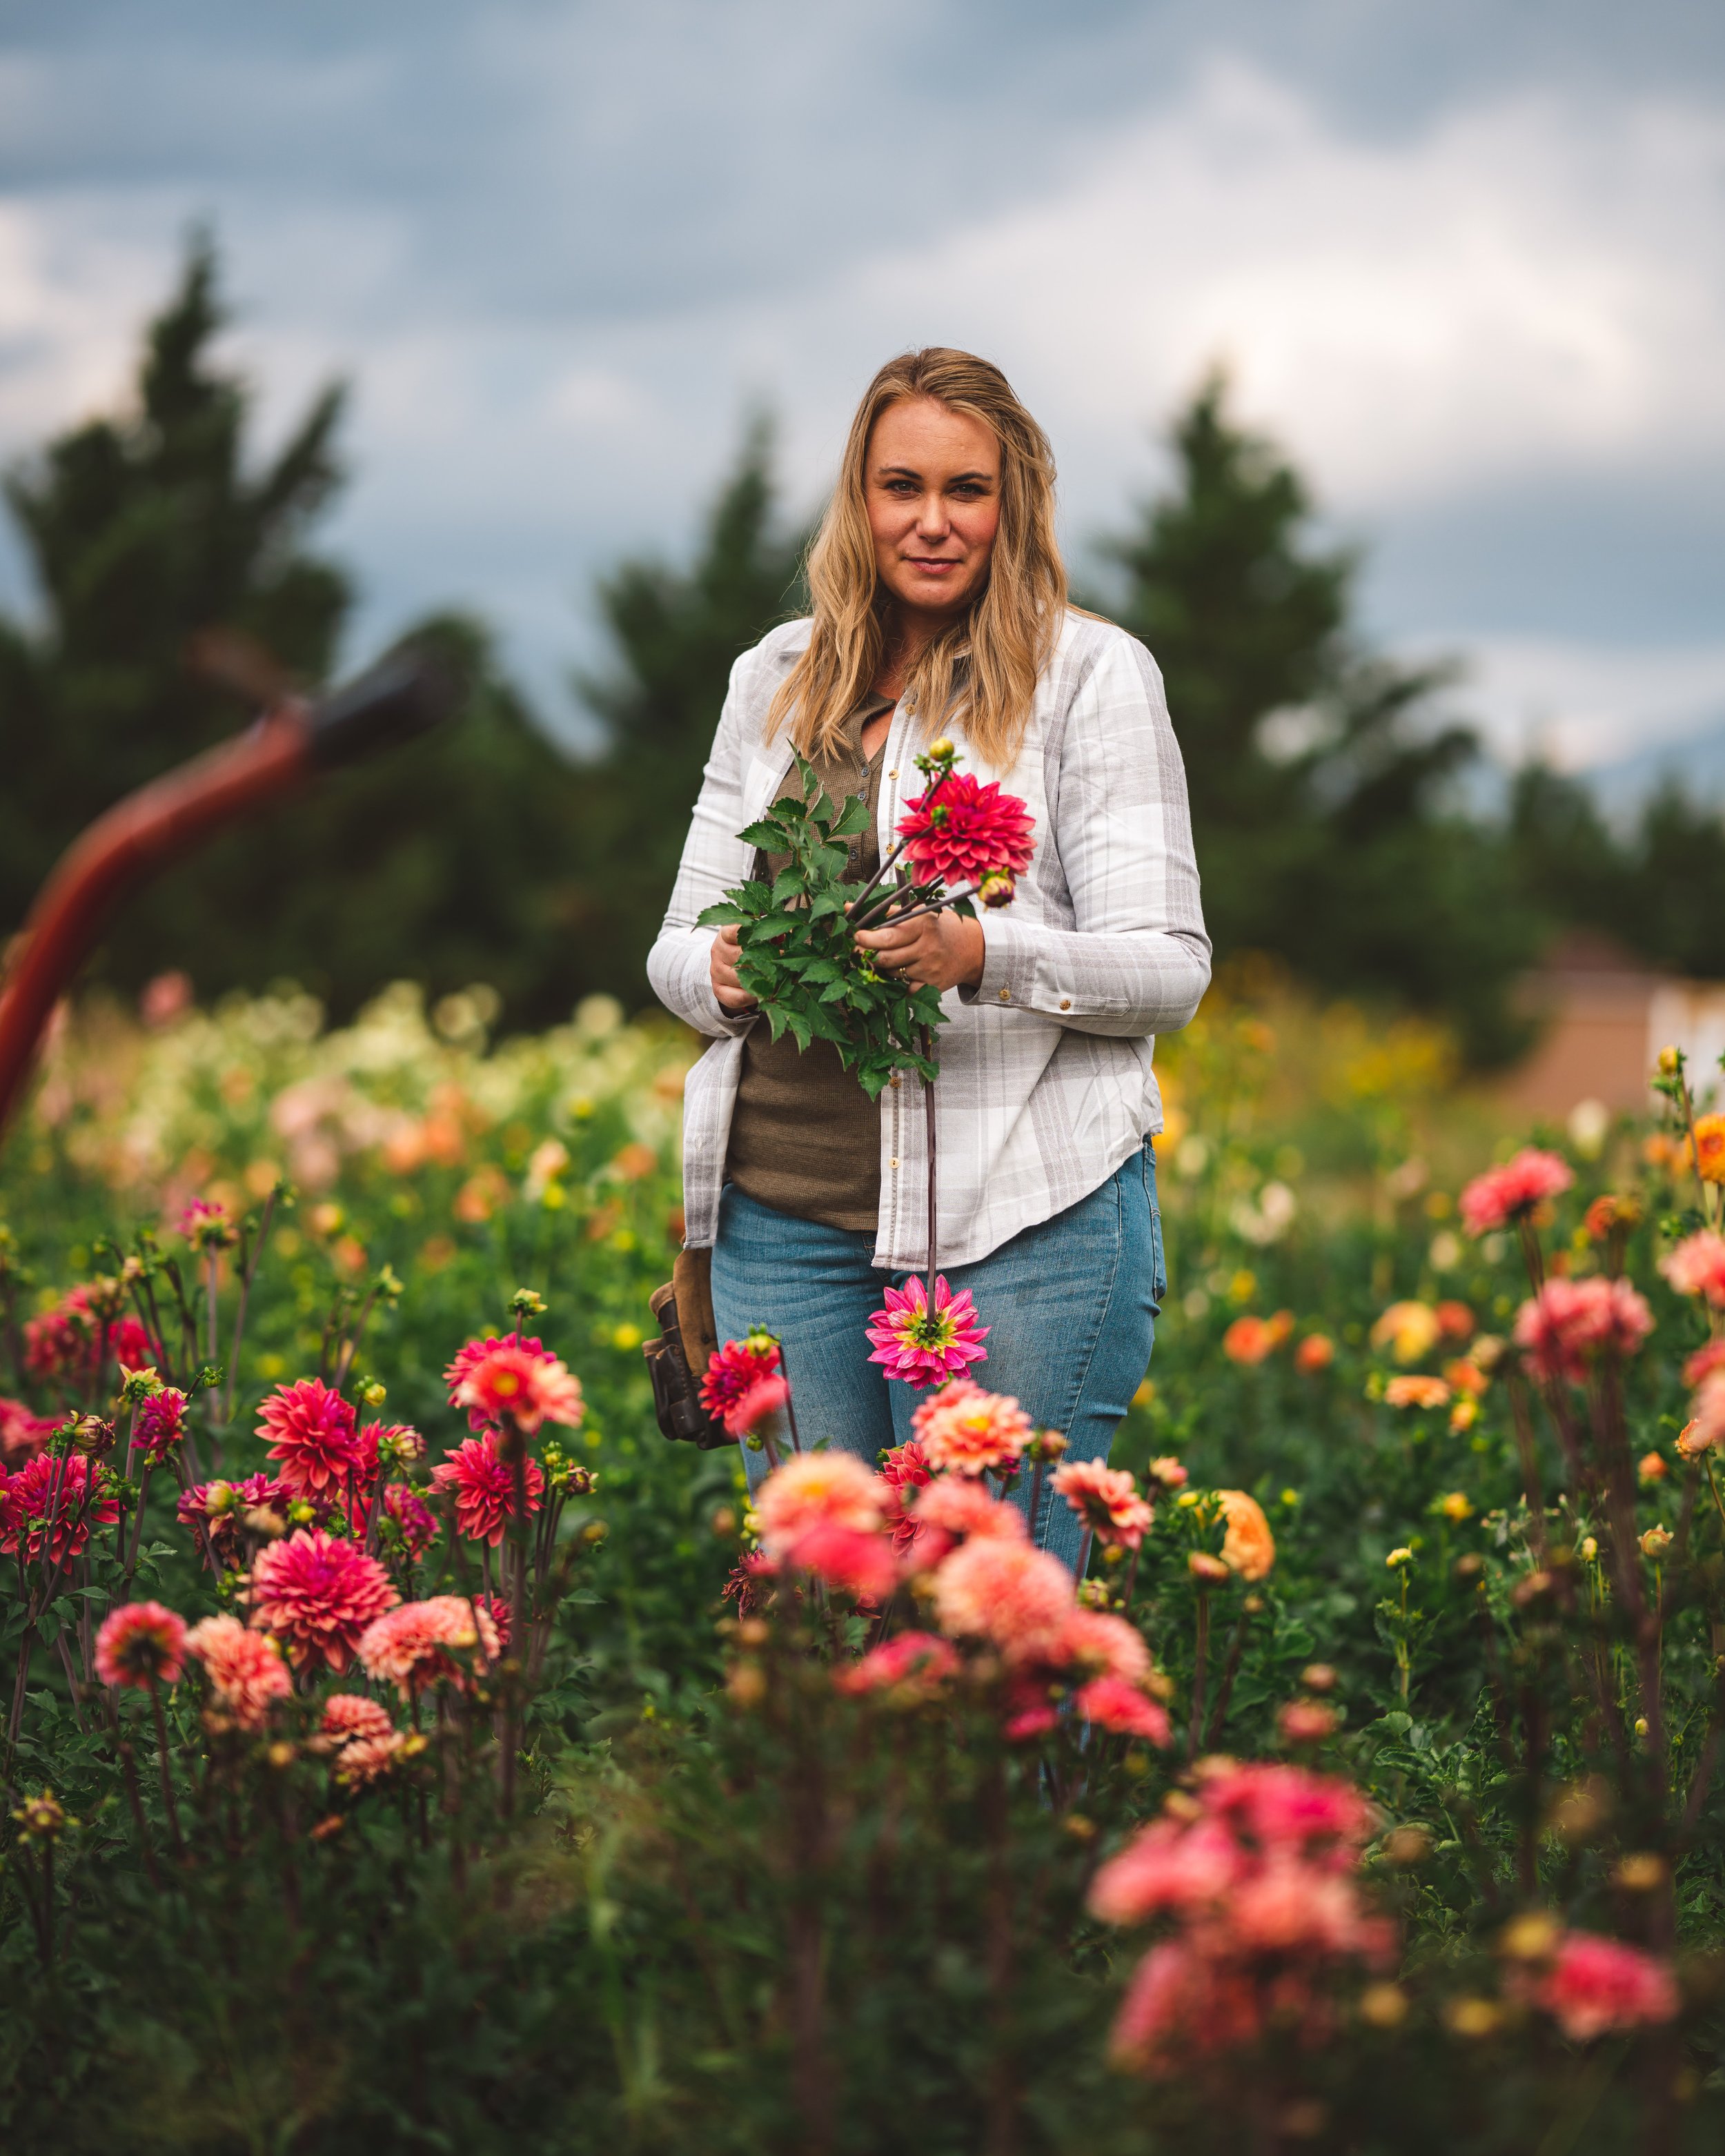
Jessica & Graham
Additional Resources to help you on your growing anemone venture!