

Reviewed By COLIN SKELLY

Colin is a Horticulturist and Horticultural Consultant with experience in a range of practical and managerial roles across heritage, commercial and public horticulture. He holds the Royal Horticultural Society’s Master of Horticulture award and has a particular interest in horticultural ecology and naturalistic planting for habitat and climate resilience.
IN THIS GUIDE
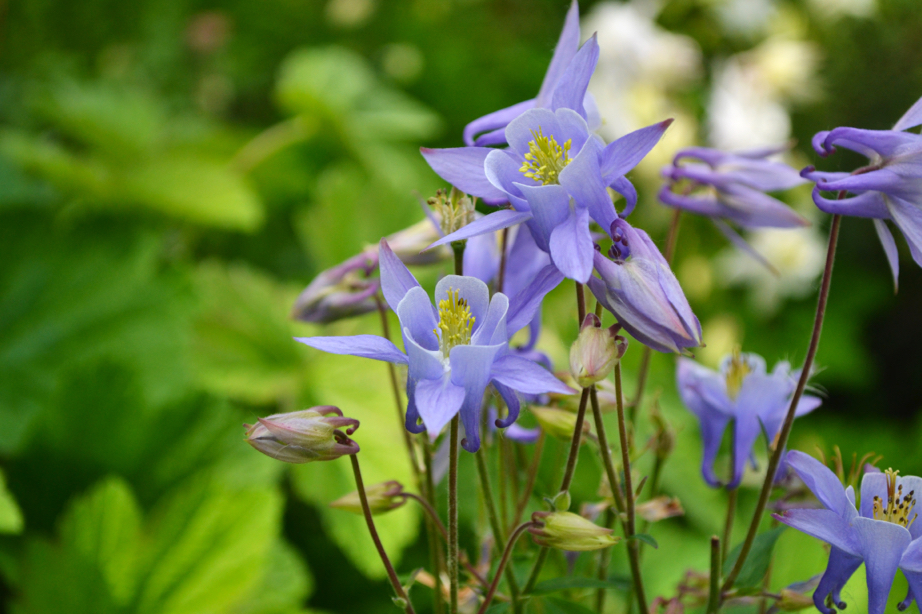
Colloquially known as columbine, Aquilegias are a delight in May and June when the flowering season isn’t yet in full swing.
Their dainty flowers come in a wide range of colours and contrast pleasingly with their dark stems.
Even though Aquilegias generally die after one or two seasons, they’re prolific self-seeders and you should still be able to enjoy them without much input from your side.
Just be aware that they hybridise at will and seedlings rarely resemble the parent plant.
On the other hand, if you want to take a more hands-on role, following these steps:
- Harvest and dry the seed pods of the plant.
- Remove the seeds from the dried pods.
- Place them in a planting tray and water them well.
- Allow the seeds to germinate.
- Prepare the seedlings.
- Plant seedlings in your desired garden location.
- Care for your plants during the following seasons.
It should be noted that it’s not advisable to propagate Aquilegias by division since their roots are sensitive and can wither when you try to separate them, as Colin Skelly, Master Horticulturist explains:
“If attempted, the best time to divide Aquilegias is in autumn, when the chance of heat stress has faded and the plants’ energy is directed to root development over flower production.
“Alternatively, if you want to propagate a clone of the parent plant in spring, then try basal cuttings1Cuttings: softwood. (n.d.). Royal Horticultural Society. Retrieved April 17, 2023, from https://www.rhs.org.uk/propagation/softwood-cuttings.”
As such, sowing seeds is the best option.
| Difficulty | Medium |
| Equipment Required | Plate, paper bag, planting tray, compost, small trowel |
You can find more information on the steps involved below.
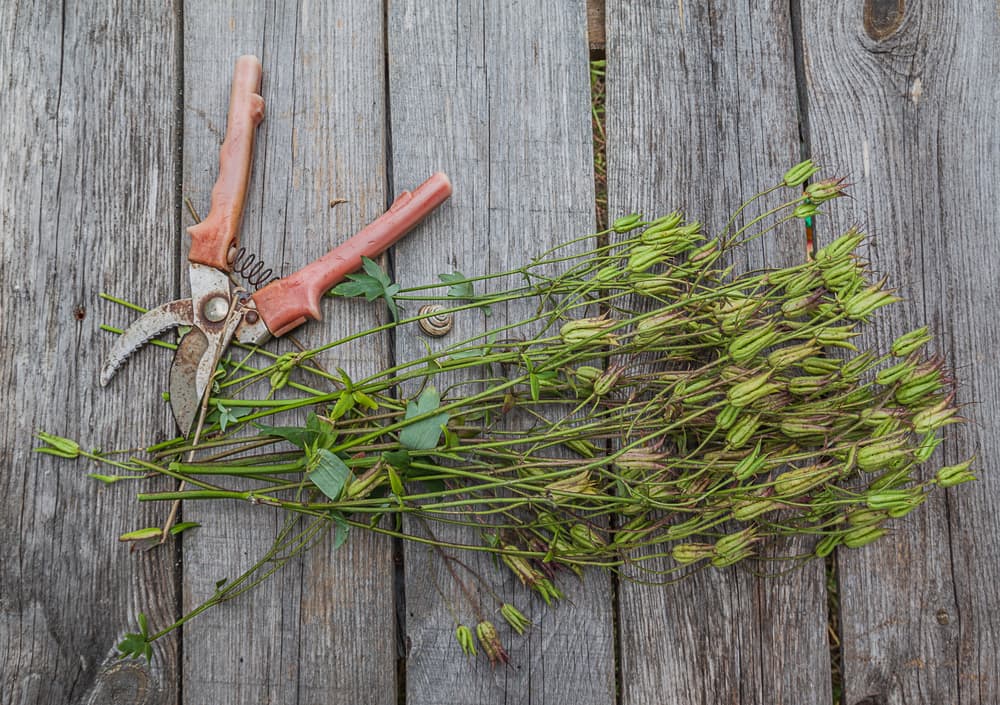
1) Harvest And Dry Seed Pods

First, you should identify the seed pods: they are five-pronged cylinders which turn brown when ripe.
Carefully pinch them at the base and remove them from the plant, placing them on a plate in a warm room.
Leave the seed pods for between 1-3 days to fully dry out, which will make the seeds much easier to remove.
2) Remove Seeds
Place the dried seed pods into a paper bag and shake them well to dislodge the seeds from the pods.
If they are not forthcoming, you may need to prise open the cylinders using your fingernails.
3) Place In A Planting Tray

It’s best to start your seeds out in late winter or early spring since they require around six weeks of colder (but not frosty!) weather to aid in the germination process.
Lightly moisten the soil in a planting tray, then sprinkle the seeds across its surface.
Do not cover with more soil, as they require light to help with germination.
4) Allow Seeds To Germinate

It may take a while for your Aquilegia seeds to germinate, but if you’re still not seeing movement after a few months, you can take matters into your own hands.
Cold moist stratification basically involves tricking the seeds into thinking they’ve survived a winter to trigger germination.
To do so, pop them in the fridge in an airtight bag with a handful of moistened soil.
Leave them for around a month, or until they begin to germinate.
If following this course of action, skip the next step and sow immediately.
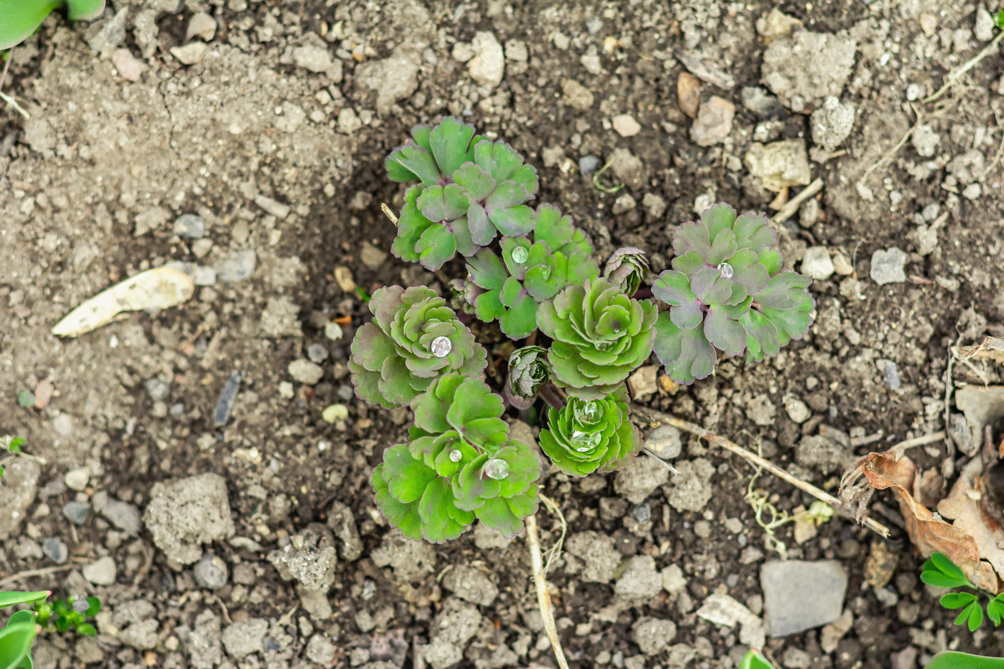
5) Prepare Your Seedlings
Once the seedlings have begun to emerge from their tray, you must thin them out to ensure they have enough space to grow.
Don’t retain any more than twice the actual number you want to keep.
Wait until the seedlings are large enough to handle, then soak the tray in water and tip them out onto a flat surface.
Tease the seedlings apart with your fingers, taking care not to damage their roots.
6) Plant In Desired Location
Seedlings cultivated in planting trays will be ready for transplantation to the garden anytime between April and September, though you might find they perform better earlier in that window.
Bright locations with partial shade are excellent locations for Aquilegias, though their exact position will depend on your personal preference.

Leave at least 45cm apart from one another to allow them to stretch their roots, planting in groups of three or more.
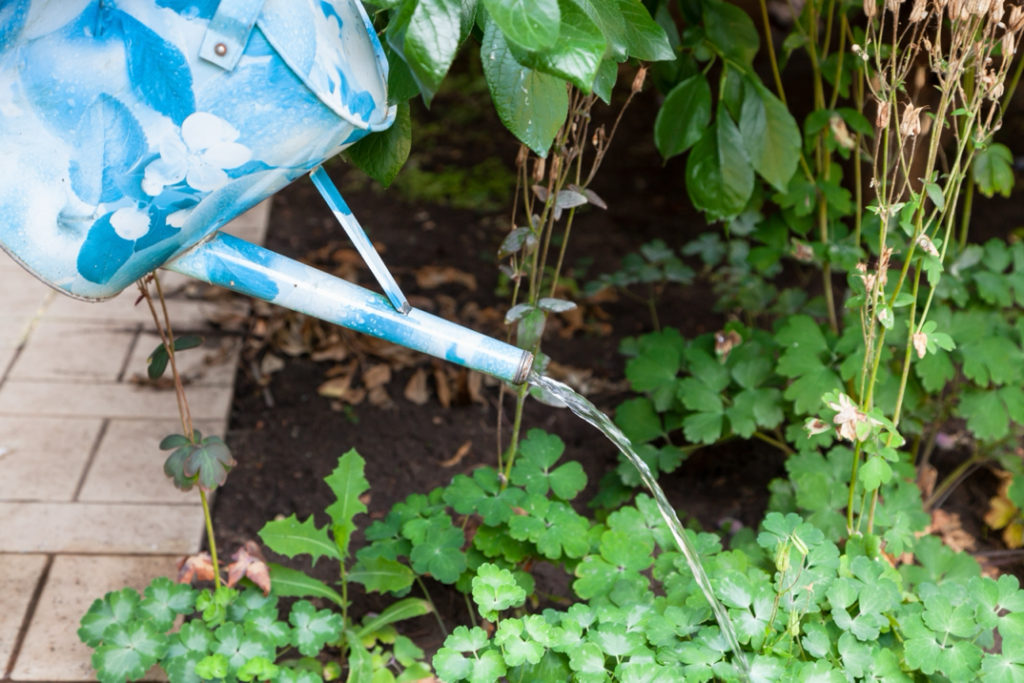
7) Seedling Aftercare
Water the newly planted seedlings well for the first few weeks to give them the best chance at establishing themselves in their new position.
Once they’ve reached maturity, they will require very little in the way of irrigation except during periods of prolonged drought.
If you notice your plant is struggling to thrive, give it a good drink.
Sprinkling organic mulch over its root system is another tried and trusted way to kickstart it once more.